If you want to learn how to create an impressive card for the holiday, then we have an awesome tutorial for you. I’m going to show you how use brushes and Layer styles in Photoshop CS5 to create eye catching digital illustration with neon text effect. Layered PSD file included. Let’s get started!
Final Image Preview

Start working by creating a new document (Ctrl+N) in Adobe Photoshop with the size 1900px by 1200px (RGBcolor mode) at a resolution of 300 pixels/inch. Select the background layer in Layers panel and click on Add a layer style icon from bottom part of the Layers panel to select Gradient Overlay.
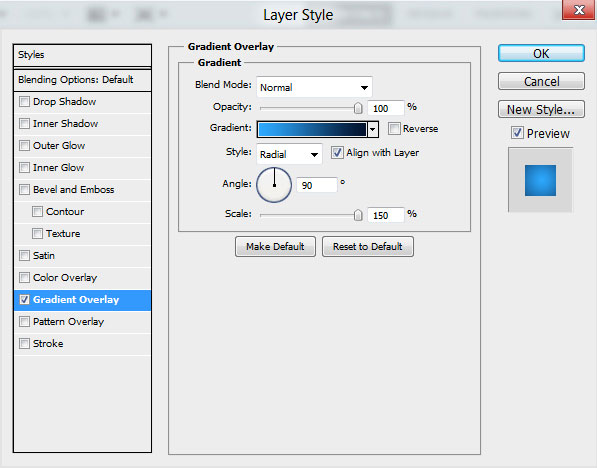
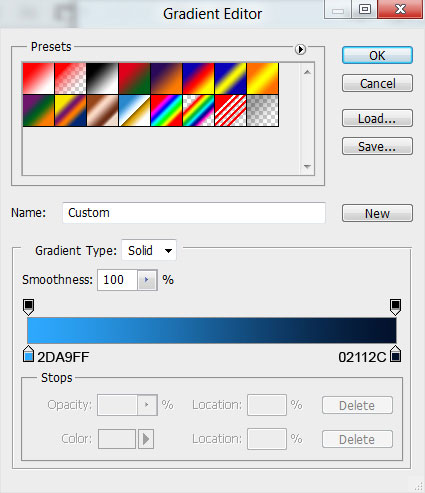
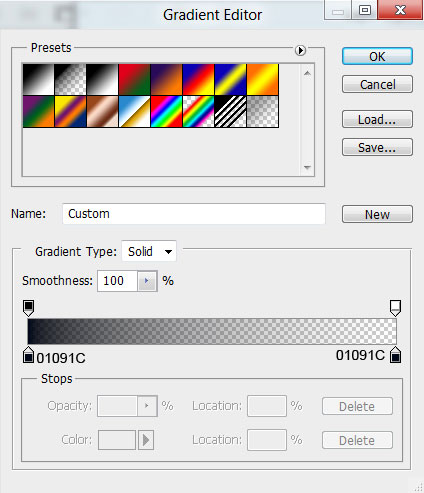
Click in the color bar to open the Gradient Editor and set the color stops as shown. Click OK to close theGradient Editor dialog box.
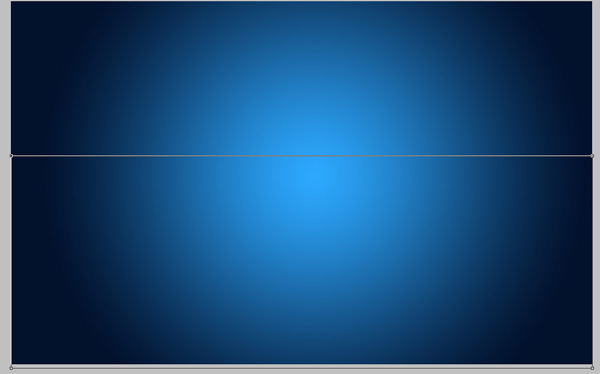
We’ve got the next background:

Then we have to represent a plane surface, using the Rectangle Tool (U) draw the next rectangle.
Set Fill to 0% for this layer and click on Add a layer style icon from bottom part of the Layers panel to selectGradient Overlay.
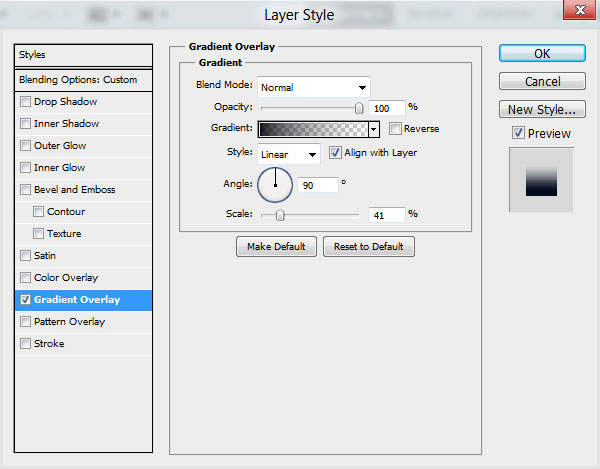
Click in the color bar to open the Gradient Editor and set the color stops as shown. Click OK to close theGradient Editor dialog box.
We’ve got the next result:

Insert the message text for greeting card. Select the Horizontal Type tool (T). Select a font, size and color in the Character panel.
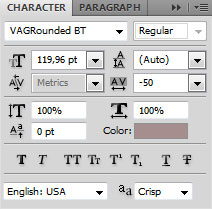
Click in the canvas and type ’2012′. Press Enter to apply the text.

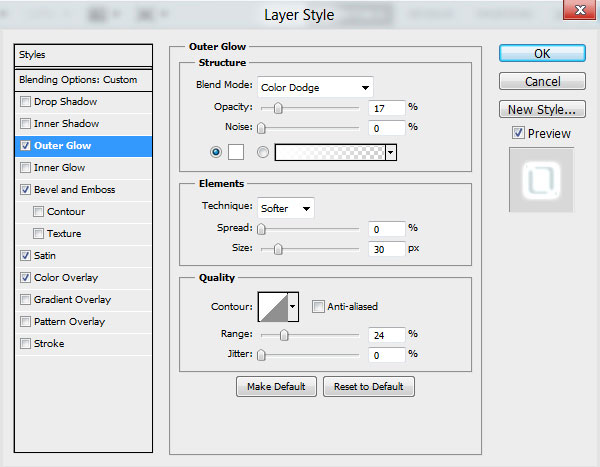
Set Fill to 0% for this layer and click on Add a layer style icon from bottom part of the Layers panel to selectOuter Glow.
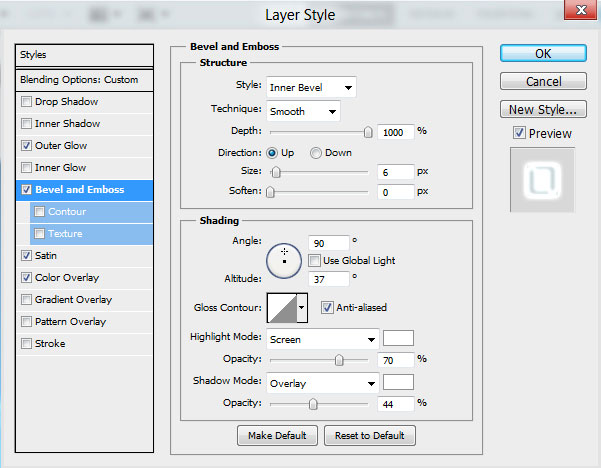
Add Bevel and Emboss:
Apply Color Overlay:
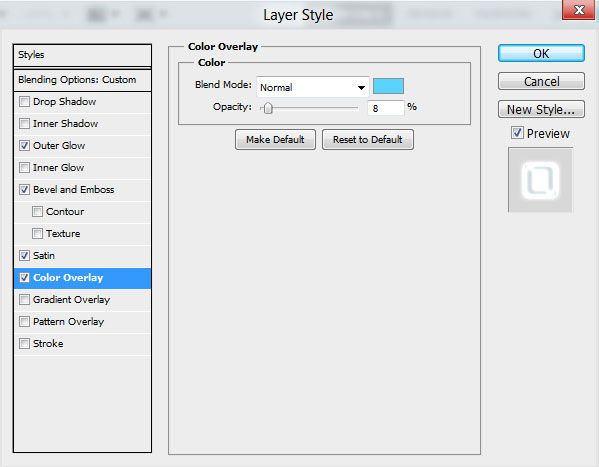
Add Satin:

We’ve got the next result:

Create a new layer now and choose the Elliptical Marquee Tool (M) to make the next selection as shown.

Then apply the Paint Bucket Tool (G) to fill the selection with #0768B7 color. Place the layer under the layer containing the digits ’2012′.

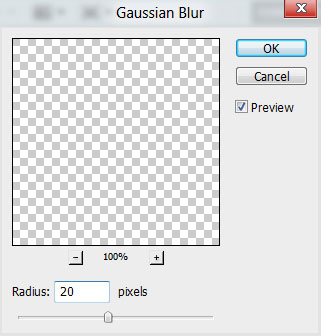
Apply the next filter on layer: Filter >Blur > Gaussian blur:
… and also Filter > Blur > Motion Blur:
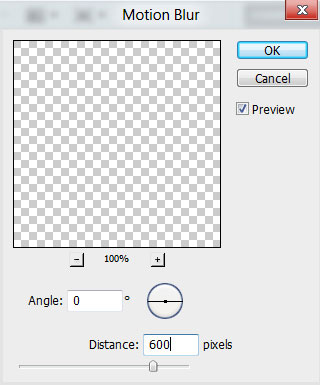
This way we’ll get the next shadow:

Make a copy of the last made layer and select the Free Transform (Ctrl+T) command to stretch out the copy’s layer vertically. The copy’s layer needs to be situated under the layer with the digits.

Represent now the shadow of white color, using the method described above. Apply on the shadow also the filters mentioned earlier also. The layer will be placed under the layer containing the digits.

Create now a new layer and select here the Soft Round brush.
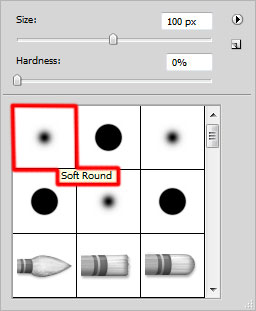
Use this brush to paint the canvas with the color #88F4FF (set brush Opacity to 60% in Options bar). Place this layer under the layer with the 2012 digits.

Set the Blending mode for this layer to Color Burn.

Now we’ll create the next new layer, using the Rectangular Marquee Tool (M) make the next selection.

Now we have to paint the digits’ zone with the color #9EF9FF, select the Soft Round brush to paint inside the selection.

We’ve got the next result:

No comments:
Post a Comment