
Downloadables
Step 1
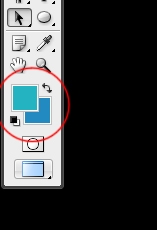
Create a new document with a size of about 1024x768px, this is a standard wallpaper size. Now in the toolbar, change the foreground color to #23b4c1 and the background color to #228ac0.
Step 2
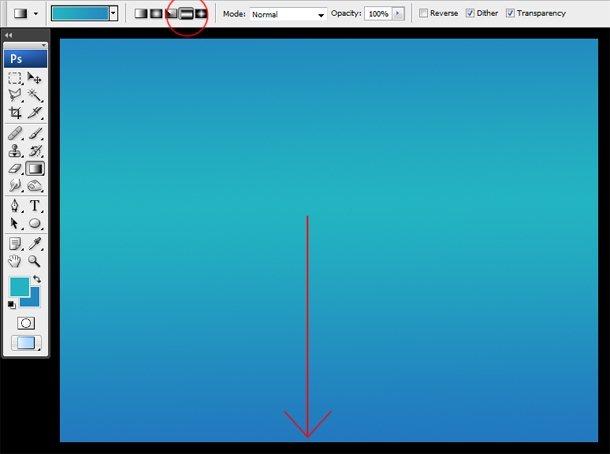
Now select the gradient tool and the default gradient should go between the two colors we specified in the previous step. In the main toolbar change the gradient type to reflected. Now Click and drag from the center of the document to the bottom of it to create our gradient background. You should end up with a gradient looking like the one below.
Step 3
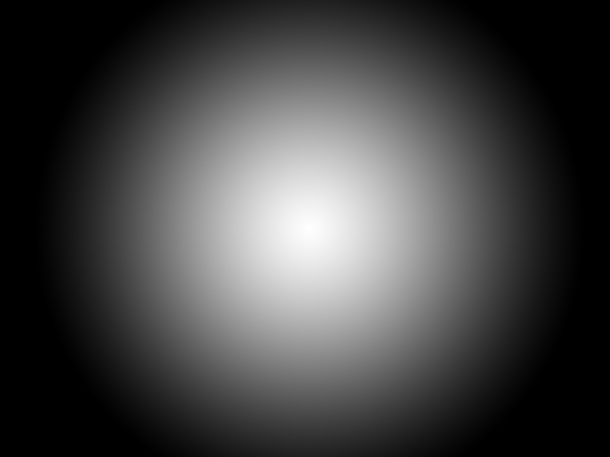
Next hit D to reset the foreground and background colors then hit X to swap them around so white should be foreground and black, background. Select the gradient tool then change the gradient type to radial this time. Create a new layer then drag from the middle to about the bottom, exactly the same as in the last step. Your page will now look like this.
Step 4
Change the blend mode of this layer to multiply and the opacity to 50%

Step 5
Now you have to select a good script font, I used a a font called ‘P22 Zaner’ but you have to pay for it. You can use almost any script font, some good ones are ‘Kunstler Script’ and ‘Edwardian Script’, these are both free and you may already have them. Now select the type tool and change to your selected font with a size of 150pt. Now type your text, I wrote ‘Tut factory’ for mine.

Step 6
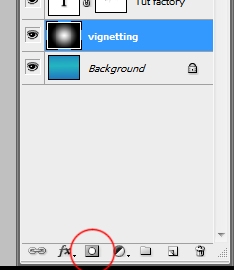
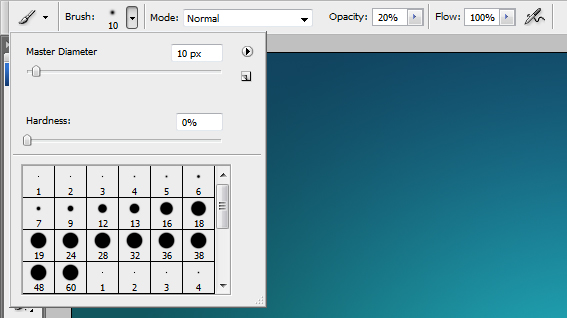
Now add a layer mask by pressing the layer mask button in the layers panel. Now select the brush tool and use the settings I’ve shown below, remember to change the opacity to 20% also.
Step 7
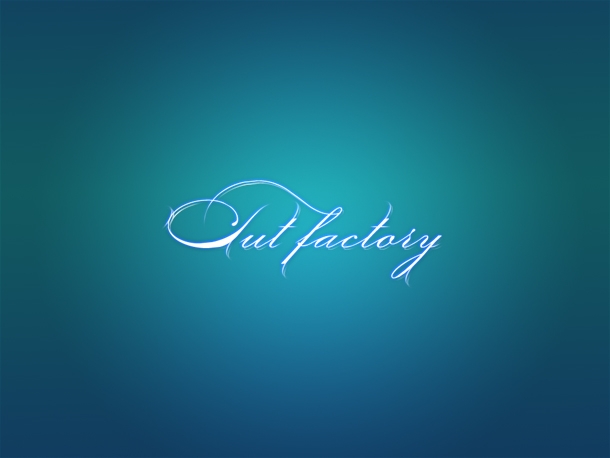
Now we want to fade out all the loose ens from the text. So first select the layer mask you created then make sure the foreground color is set to black then just brush over all the loose ends of the text. Compare the image below to the image in step 5 tto see what I mean.

Step 8
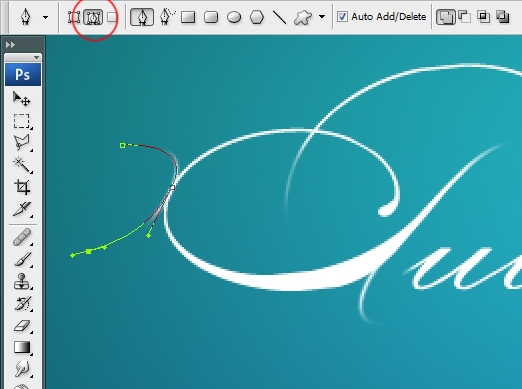
We’re going to add a few decorations to the type now, Create a new layer then select the pen tool then in the main toolbar make sure the paths button is pressed. Now draw a curved path by clicking and dragging the pen tool a few times.
Step 9
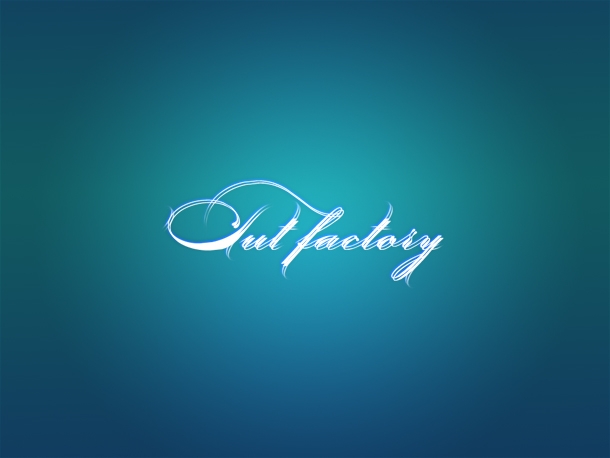
Now select the brush tool, then change back to a 2px hard white brush with 100% opacity then just hit Return. Now repeat these last two steps a few times (although don’t make a new layer each time) until you have a good few curves then repeat steps 6 & 7 to fade out these parts. You should end up with something similar to below.

Step 10
Now select both the decorations layer and the text layer (use Ctrl to select multiple layers) then right click on one of the layers and select ‘Convert to Smart Object’, if this option isn’t available then just hit Ctrl+E. This will merge the two layers.
Step 11
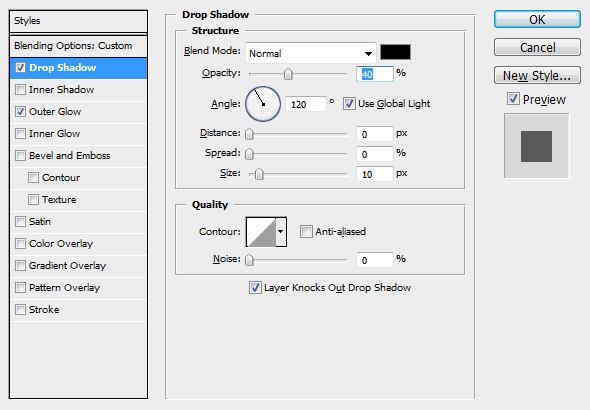
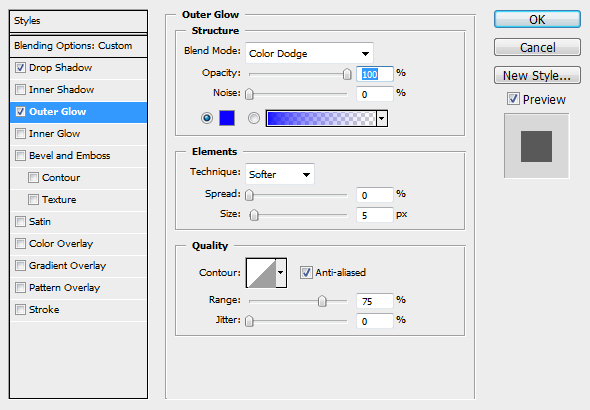
Right click on this layer and go to blending options and add a drop shadow and an outer glow using the settings shown below.
Step 12
Now we’re going to add some more depth to the text. First right click on the text layer and duplicate it then remove the drop shadow and outer glow from this new layer. Now using the move tool, move the new layer down and to the right slightly so you have something like in the image below.
Step 13
Remember that wee layer mask button from step 6, this time hold Alt and click on it, it will now hide the whole layer. Make sure you’re brush is set up the same as in step 6 then click on the layer mask and change the foreground color to white. Now what you have to do is brush over parts where you want the highlight to be visible. Just experiment until it works, until you have something that resembles the image below.
Step 14
Create a new layer then select the brush tool and go to the brush settings and change the diameter to 15px, the hardness to 0% and the opacity to 50%. Make sure the foreground color is set at white then just click once at the top right of each letter to add a small glow. Next just change the opacity of this layer to 50%.

Step 15
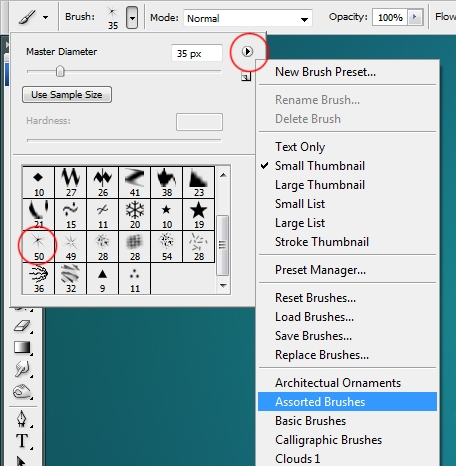
Create a new layer then select the brush tool and go into the settings, first click the small arrow next to the diameter bar and choose ‘Assorted Brushes’ then choose the brush circled below and change the diameter to 35px.
Step 16
Change the foreground color to a bright yellow color then with the brush tool click in the center of each of the glow balls you added in the last step.

Step 17
Lastly all you need to do is change the blend mode of this layer to ‘Color Dodge’ and the opacity to 75% and there you have it!

http://photoshop.tutfactory.com
No comments:
Post a Comment